Creating Annotations
AudiAnnotate is a tool to compile and present existing annotations. You will not create your annotations in AudiAnnotate, but instead import annotations created elsewhere. Annotations can be imported as a .tsv, .csv, .xlsx, or tab-separated .txt file. There are many different types of software that can facilitate making annotation files in these formats. Below, you'll find instructions for making annotations using a simple spreadsheet, Audacity, and Adobe Premiere.
Creating Annotations Using a Spreadsheet
You can use spreadsheet programs like Excel or Google sheets that export .tsv, .csv, or .xlsx files to create and organize annotations for AudiAnnotate. To do so:
- Create a blank spreadsheet or use this template. (Upon opening this link, you will be prompted to make a copy of this template for your own use.)
- AudiAnnotate accepts annotations formatted with five columns, the first four of which are required:
- Column A: annotation’s start time (in total seconds or HR:MIN:SEC format)
- Column B: annotation’s end time (in total seconds or HR:MIN:SEC format); Note: Column A and Column B may be the same point in time or different points in time for a range
- Column C: annotation (e.g., transcript, description, speaker name)
- Column D: layers, categories used to describe annotation type (e.g., transcription, speaker, genre, environment, etc.)
- Column E: index (optional), multiple categories separated by a comma to describe the annotation (e.g., transcription, speaker, genre, environment, etc.) The index is an "end-of-book" list in the project that allows you to pull different annotations across recordings together on one page in connection with different categories. The index is a separate page, and it will appear in the drop-down menu at the bottom. Capitalization should be normalized.
- Enter your annotation(s) into the sheet as necessary.
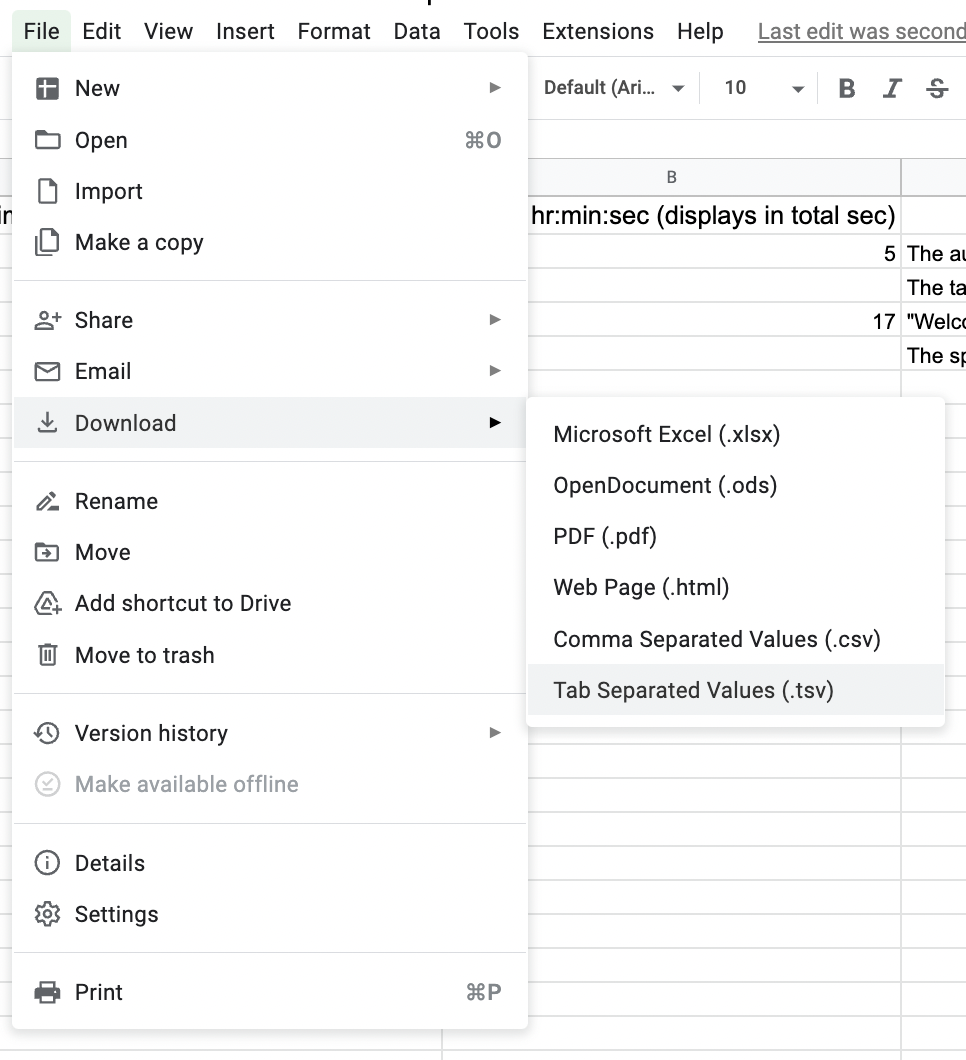
- Once you have completed your annotations, download or save the particular tab of your spreadsheet you filled as either a .tsv, .csv, or .xlsx.
- Open Audacity, and in the top left, navigate to File→ Open, and then select the audio file you will be adding annotations to.
- On the warning screen, make sure the “make a copy” choice is selected, then select ok.
- We’ll use the “Label Track” to add annotations. Select “Tracks,” then “Add New,” then select “Label Track.”
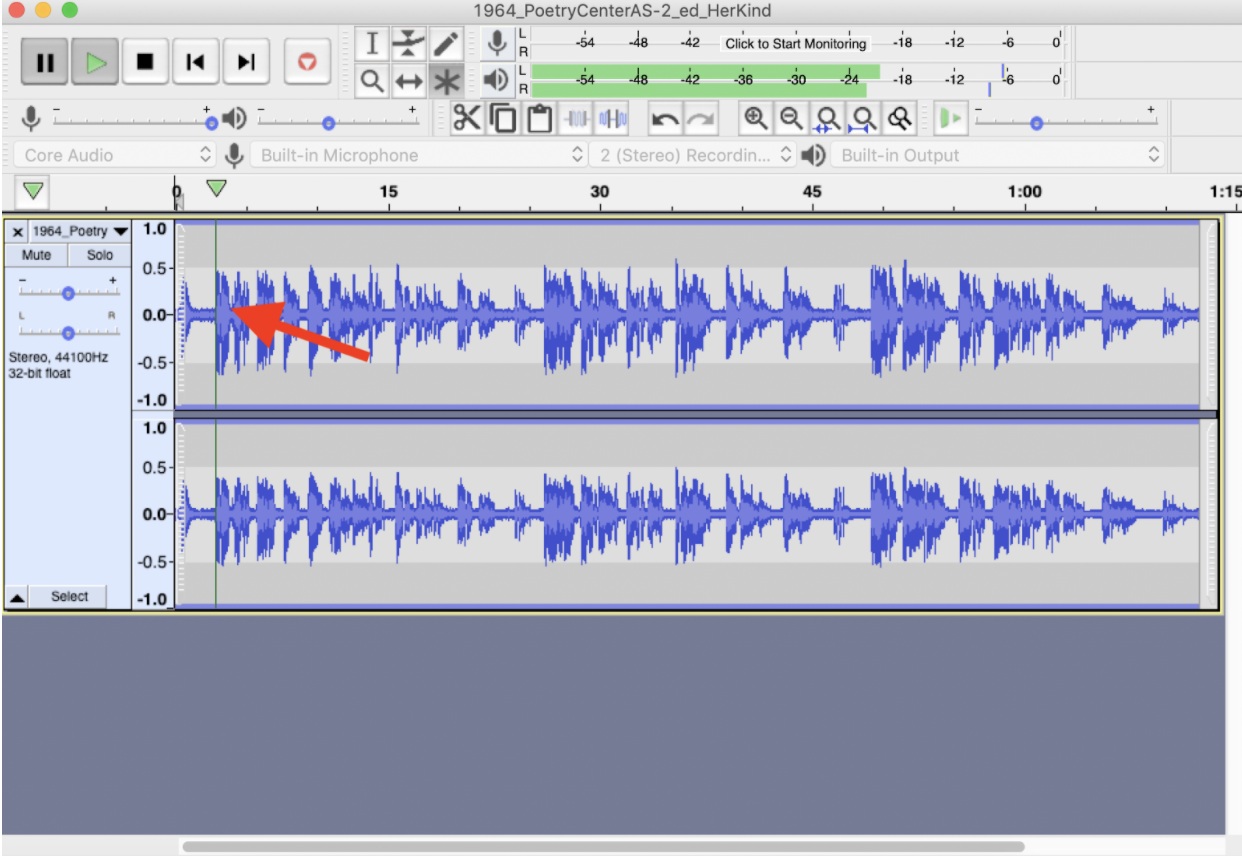
- To insert a label at a point in time, you’ll pause the poem by selecting the “p” key, or pressing the pause symbol in the upper left, at the place you want to add a label.
- Select the time marker line to mark the place in time where you want to add the label. This typically will correspond to the place where you paused the audio.
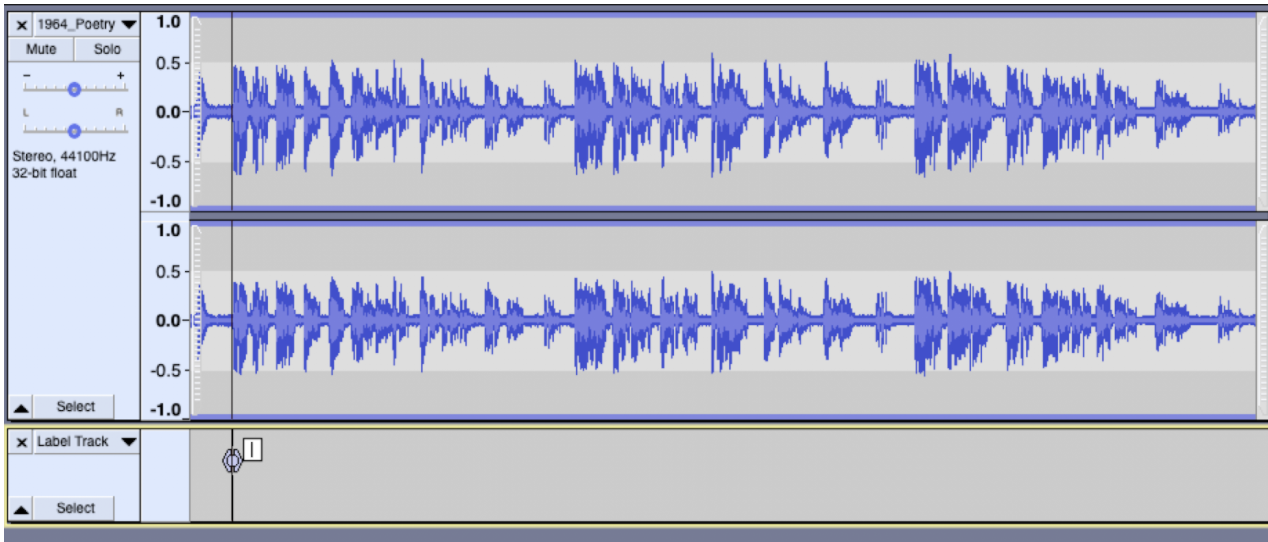
- Then, you’ll select command + b (the shortcut for Edit → Label → Add Label at Selection) to add a label on the label track. A field will pop up, and you can type your annotation. (Example: You may add “Stanza1” to mark the first stanza of a poem.) You could leave the point annotation as it is, or create an annotation as a range with a starting and an ending point.
- To create a range, you’ll select and drag the right edge of the point marker in the label track to the end of the moment you would like to annotate. You’ll have to play the recording to know where to end your range. A completed range will look like this:
- You can also add multiple label tracks to organize your annotations as you work. To do so, navigate to Tracks → Add New → Label Track.
- When you open the app and add audio, navigate to Edit → Labels, then select “Type to create a label.”
- This creates a shortcut to add a label when any key is pressed. Now as you’re listening, when you type any key, a label will begin, allowing you to add labels without pausing. (Note: This will only add point-in-time labels, not ranges.) Using this method, to pause the audio, you need to use the pause button on the upper left of the interface (the “p” shortcut will not work).
- Go to File → Export → Export Labels.
- Name your labels and save as a .txt file. You will need this file when creating your project with the AudiAnnotate application.
- Before creating annotations in Adobe Premiere for your AudiAnnotate video, you will need to create a new project in Adobe Premiere and title the project. Select“New Project…” on the left-hand opening menu of Premiere when prompted.
- List a title for your project under “Name” and select “Ok.”
- Once you have done so you can import a .mp4 file by selecting “File” then selecting “Import…” and selecting your downloaded .mp4 to import into Adobe Premiere from your files.
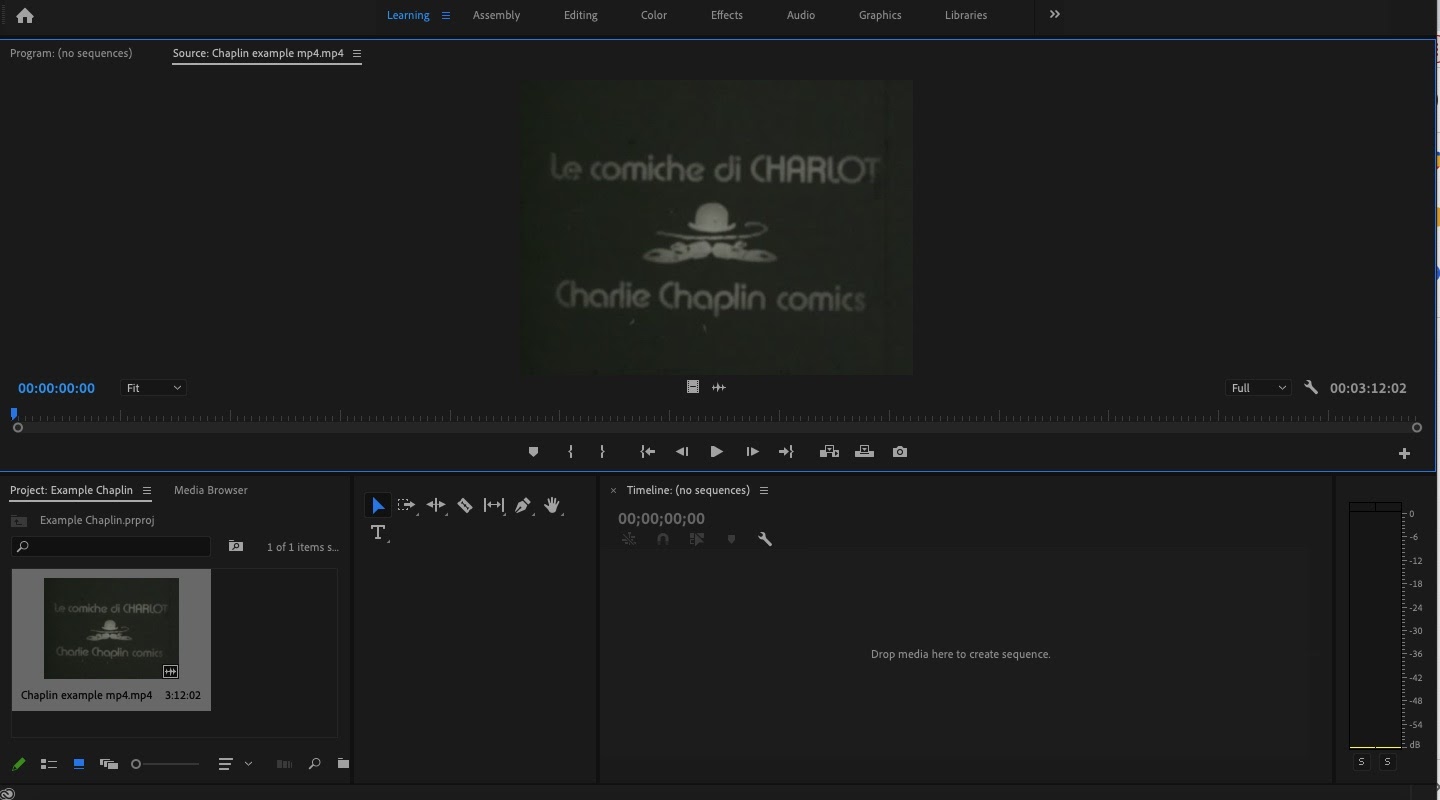
- Double click the still from the .mp4 video in the bottom left-hand corner of the screen to put the clip into the timeline for annotating. Once the .mp4 is visible in the timeline, Adobe Premiere should look like this:
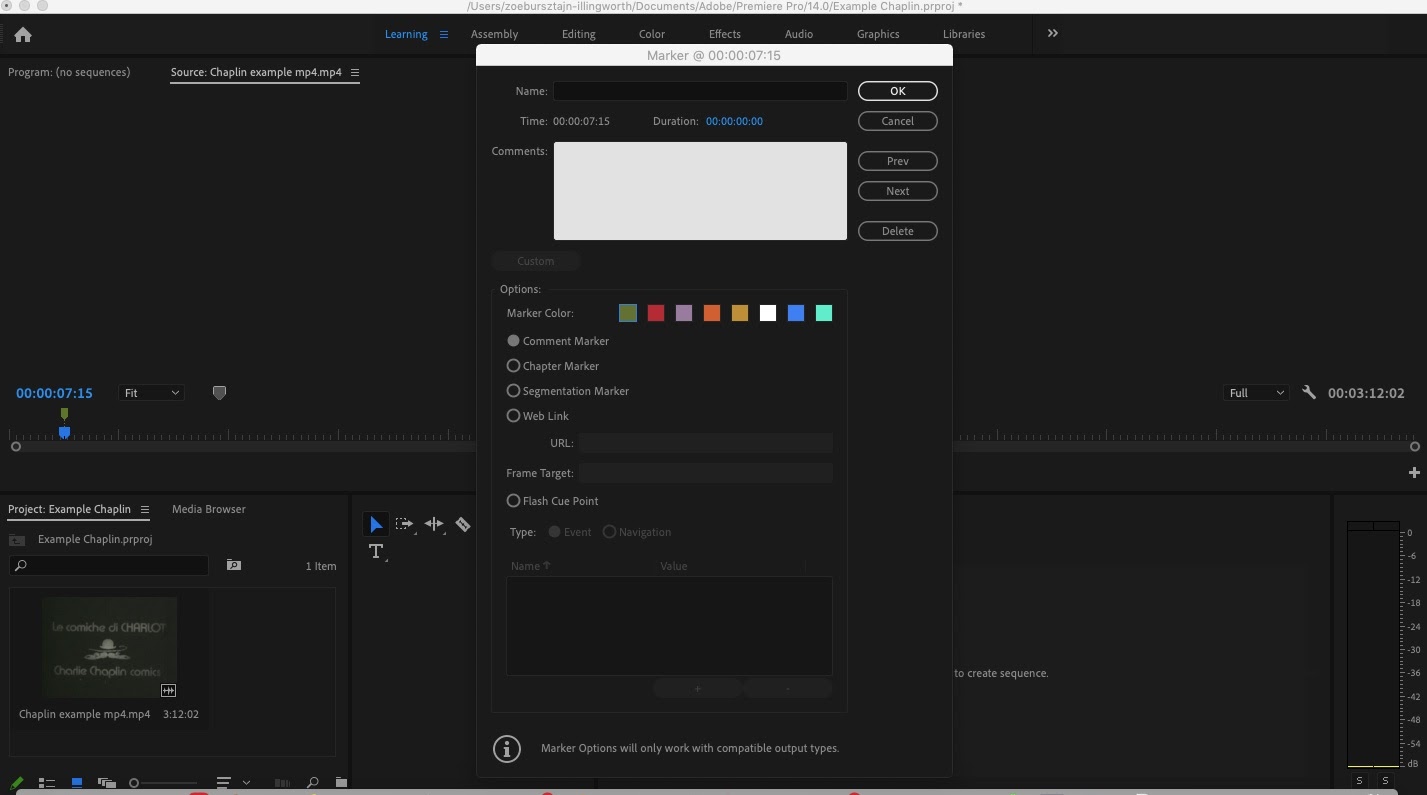
- Annotations are added using the “Marker” feature. To add a marker, select the play icon on the timeline to begin the video. Pause the video then select “Marker,”then “Add Marker” where you want to begin annotating. This will drop a marker at that point.
- Once you have dropped a marker, select “Edit Marker” from the drop down menu.
- The Marker “Name” should be the name of each layer you ultimately want in your AudiAnnotate project. The Marker “Comments” should be the text of annotation itself, such as a transcription.
- You can also add a duration by clicking and holding the blue timecode (above the marker) and dragging it to the right. You can drag the second marker to the end of the clip to annotate a range instead of a point in time.
- Continue adding markers with names for each layer and your annotations under “Comments.” It may help your organization to use distinct colors for markers corresponding to each layer, but it is not necessary.
- Once you have finished annotating your video using markers, follow the instructions below to export your annotation file.
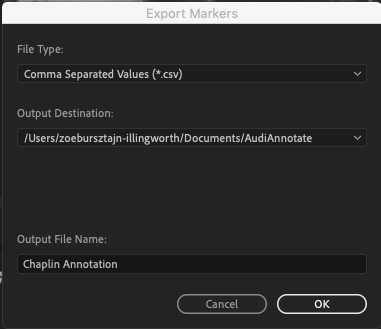
- Select “File” then select “Export.”
- Under the options for “Export” select “Markers.”
- The default setting for a .csv file works for AudiAnnotate, so keep this export setting.
- You can rename the file as you wish and select a location for it, but do not edit the formatting of the file before uploading it to AudiAnnotate.
Creating Annotations Using Audacity
Note on Audacity Spyware Controversy:
Audacity was accused of being spyware when an updated privacy policy mentioned that data may be shared with WSM Group, a company that acquired Audacity and which is headquartered in Russia. Audacity published a statement on GitHub that shares more context on the policy. The post mentions that Audacity does not sell any third party data and that data collected at the desktop level includes IP address, OS version and CPU type, and error report data.
Downloading Audacity
Navigate to Audacity's download page for either your Mac or PC. There, you’ll download the .dmg file and double-click to follow instructions for downloading Audacity to your machine. We recommend downloading the latest version.
Annotating in Audacity - Method 1

Annotating in Audacity - Method 2
Exporting labels from Audacity
Creating Annotations Using Adobe Premiere
Annotating Videos in Adobe Premiere Using Markers
Exporting Your Annotations from Premiere