Adding an Audiovisual Item
Via an Existing Direct Link | Via an Existing IIIF Manifest | Creating a Direct Link
Via an Existing Direct Link
If you can access a direct link to the audiovisual item, you can add that URL directly to AudiAnnotate to import the material. Some institutions make direct URLs readily available; other times they can be found in a webpage's HTML code or by downloading the material. A direct link should open the item in a web browser as a standalone object. It should begin as a web address and end with the file format, e.g. .mp3, .mp4, .wav, etc.
- Navigate to your projects page in AudiAnnotate
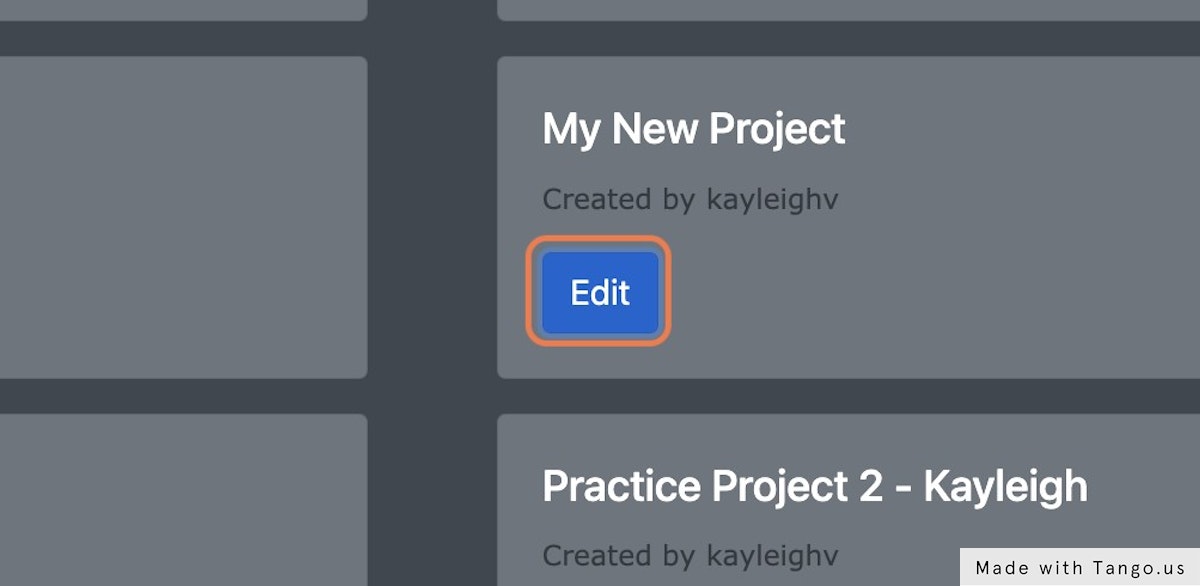
- Select “Edit” for the appropriate project
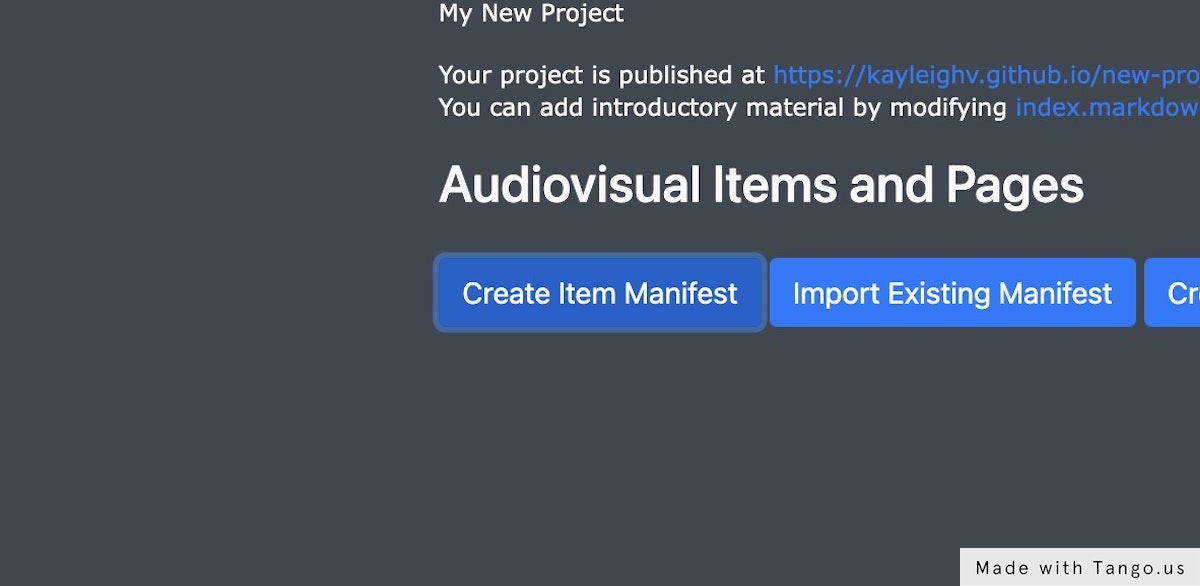
- Select “Create Item Manifest”
- Add a label for your audiovisual file
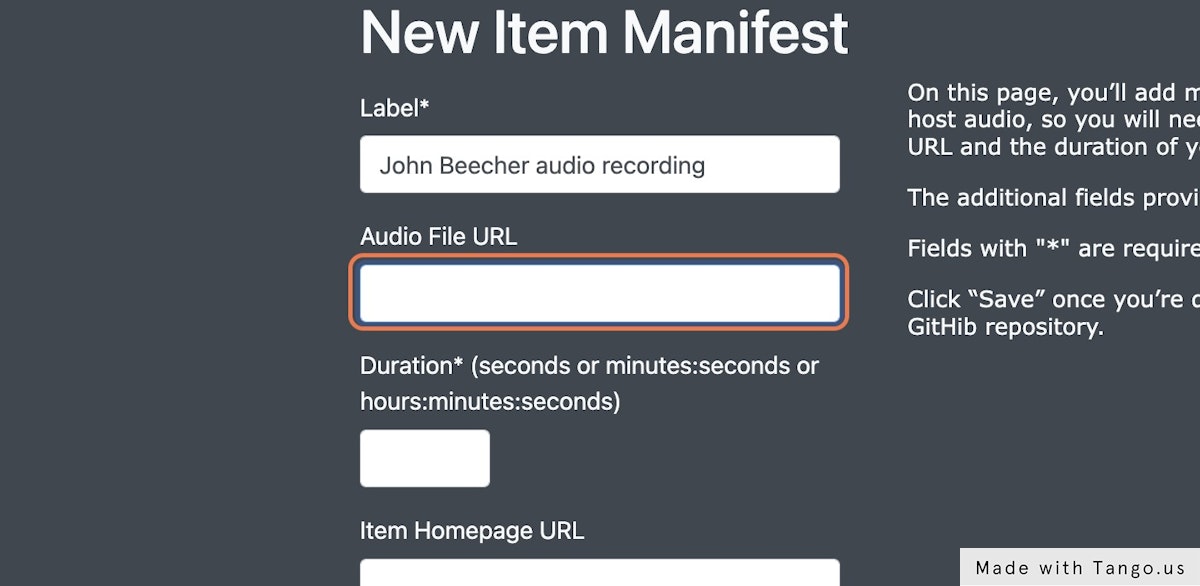
- Add “Audio File URL”
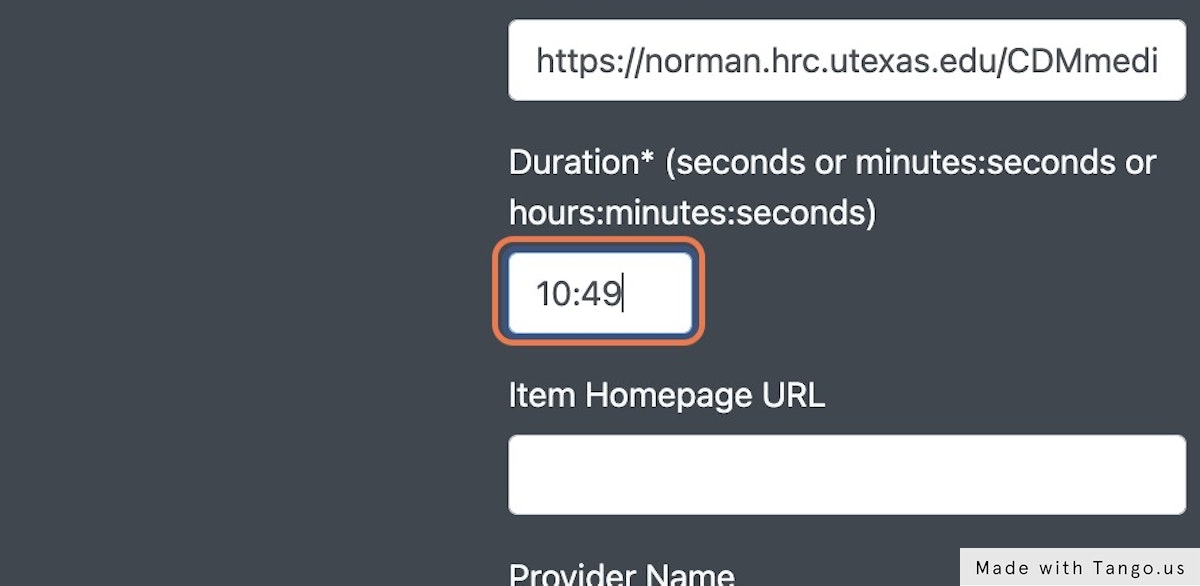
- Add the duration of your audiovisual file
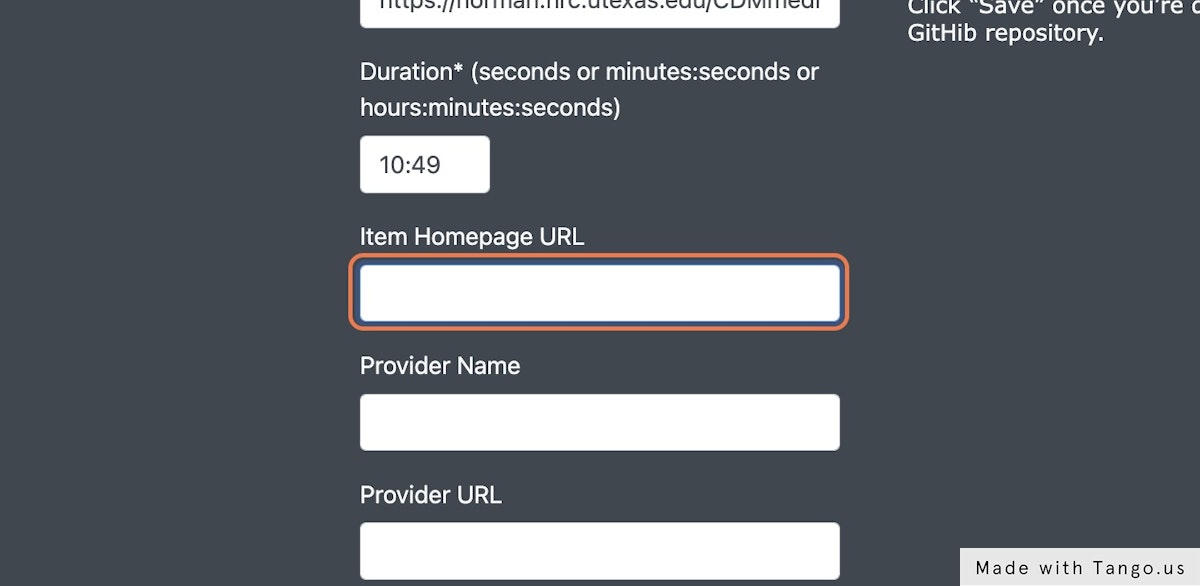
- Add the “Item Homepage URL”
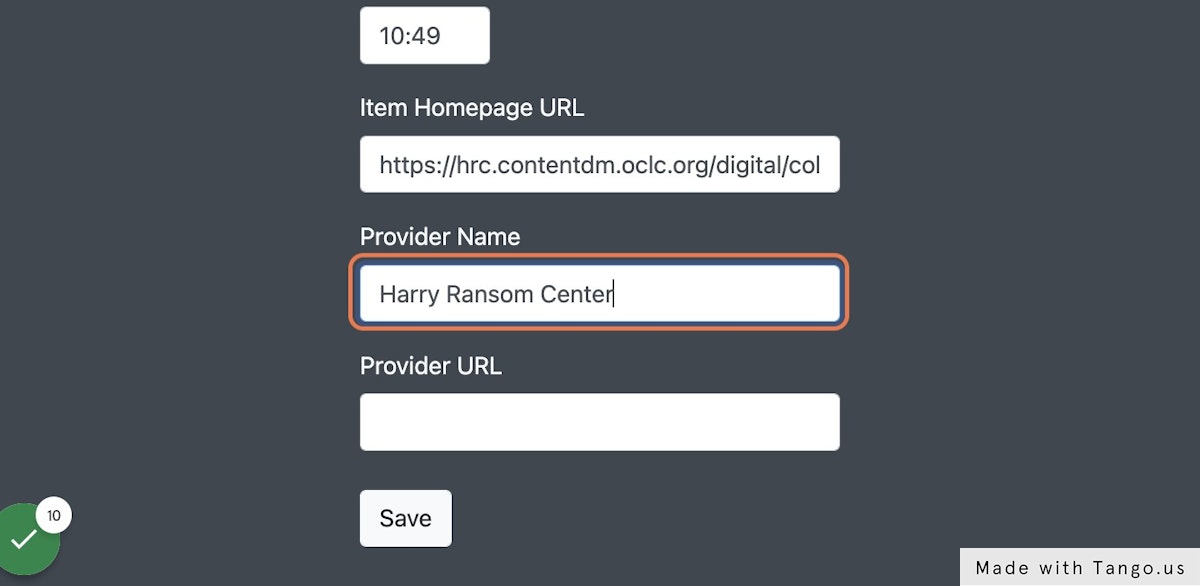
- Add the “Provider Name”
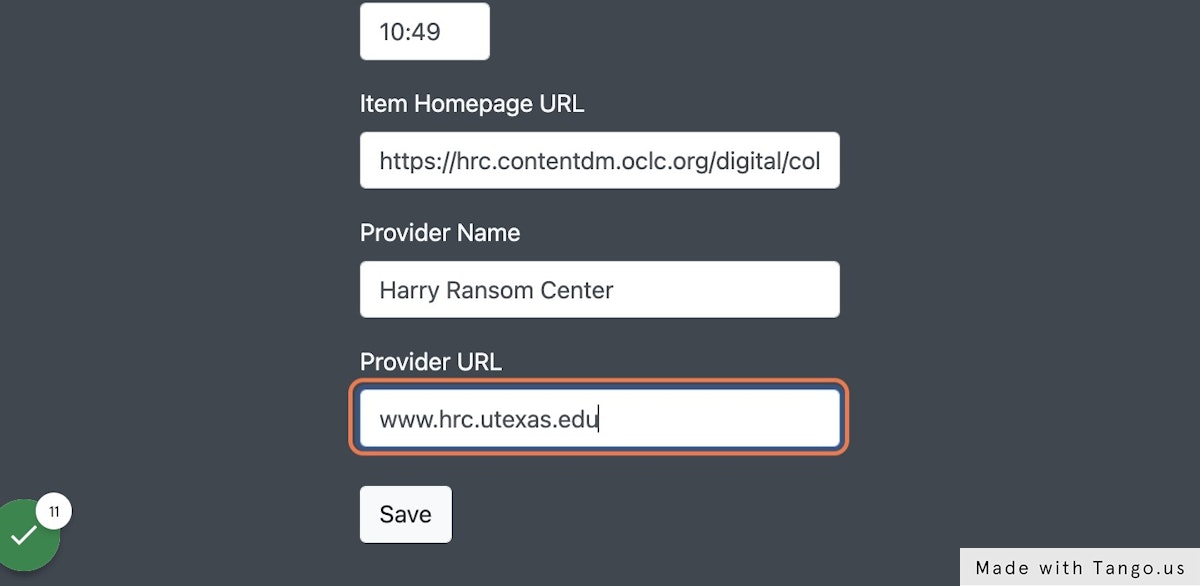
- Add the “Provider URL”
- Select “Save”
This creates a new item in the IIIF manifest associated with your project. The page that opens as a result is where you will add metadata for your audiovisual material.
The label refers to the title of the audiovisual material to which you will be providing a URL and should be human-readable.
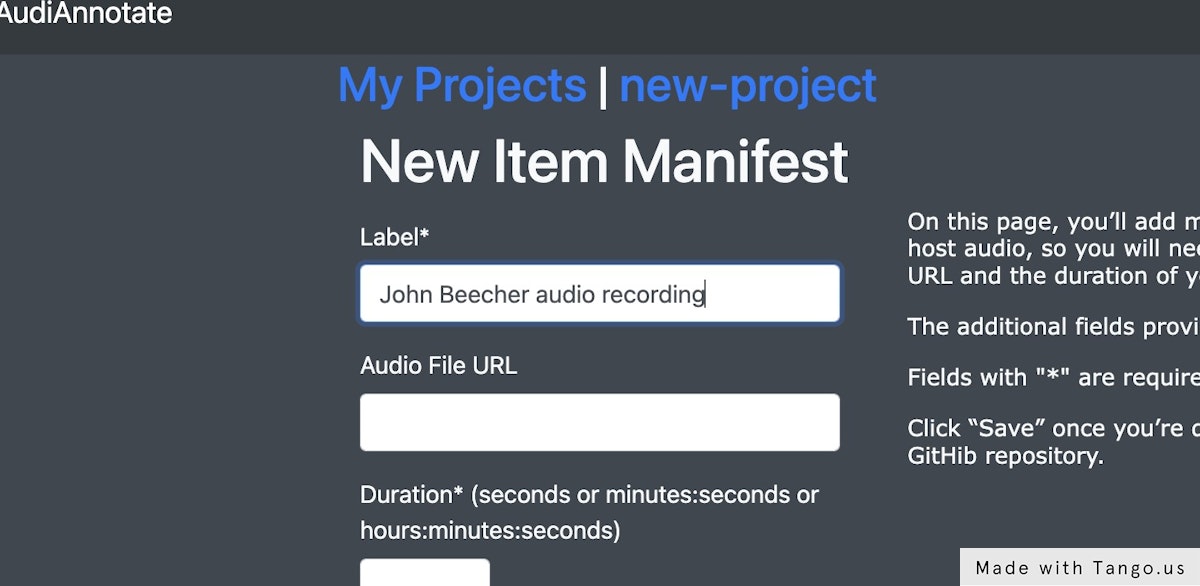
This is the direct link to the audiovisual file. (If you need to create a link, please visit this section of our documentation for more information.)
Duration can be input in minutes:seconds or hours:minutes:seconds.
“Item Homepage URL” is the item page where the audiovisual material was retrieved. This, and the fields below, will add provenance metadata to the IIIF manifest.
“Provider Name” is the organization that made the recording available.
“Provider URL” is a link to the organization that made this audiovisual material available.
This will save the metadata you added to this item in the IIIF manifest.

This workflow was created with Tango
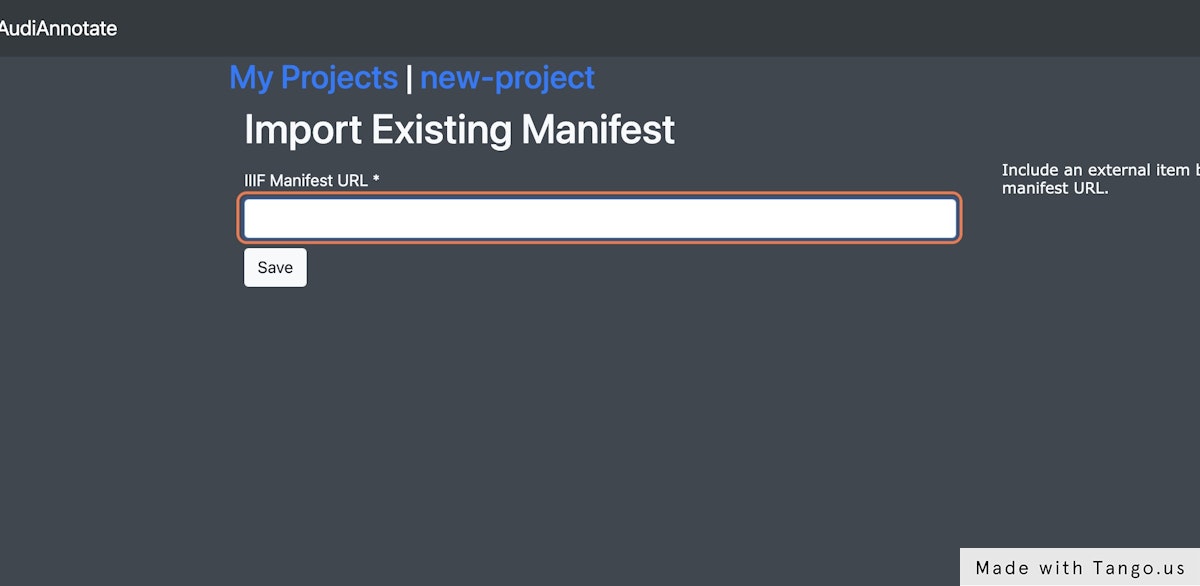
Via an existing IIIF manifest
Some institutions provide access to a IIIF manifest. In these cases, you can put the URL for the manifest directly into AudiAnnotate to import the material.
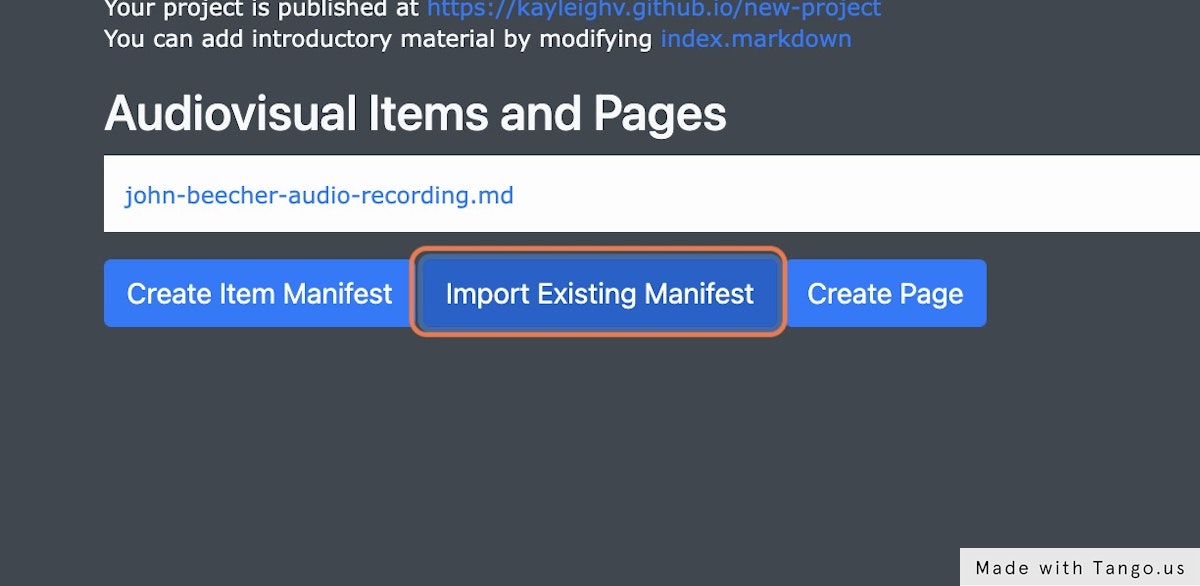
- Open or create your AudiAnnotate project
- Select "Import Existing Manifest"
- Locate a IIIF manifest
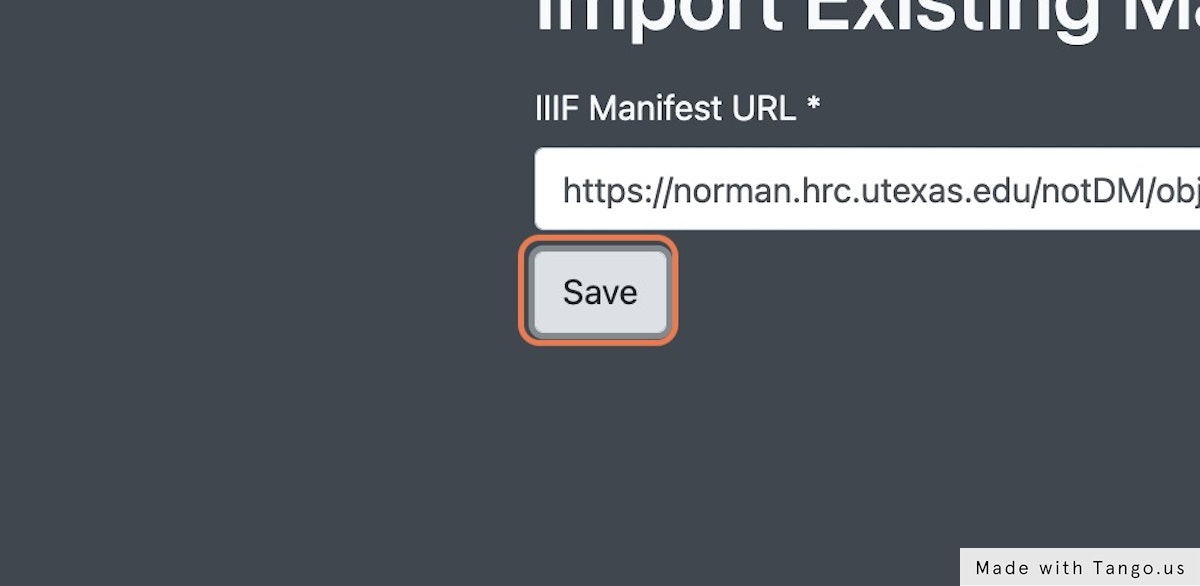
- Provide a URL for the IIIF manifest
- Select "Save"
The location for these vary between institutions; you may need to contact the holder of the audiovisual item you are working with directly to locate the manifest.
This workflow was created with Tango
Creating a direct link
If neither a direct link nor a IIIF manifest are available, you can create your own direct link by uploading the audiovisual item to either the Internet Archive or to Box. This is the best option for audiovisual items in your personal collection or audiovisual items available for download online.
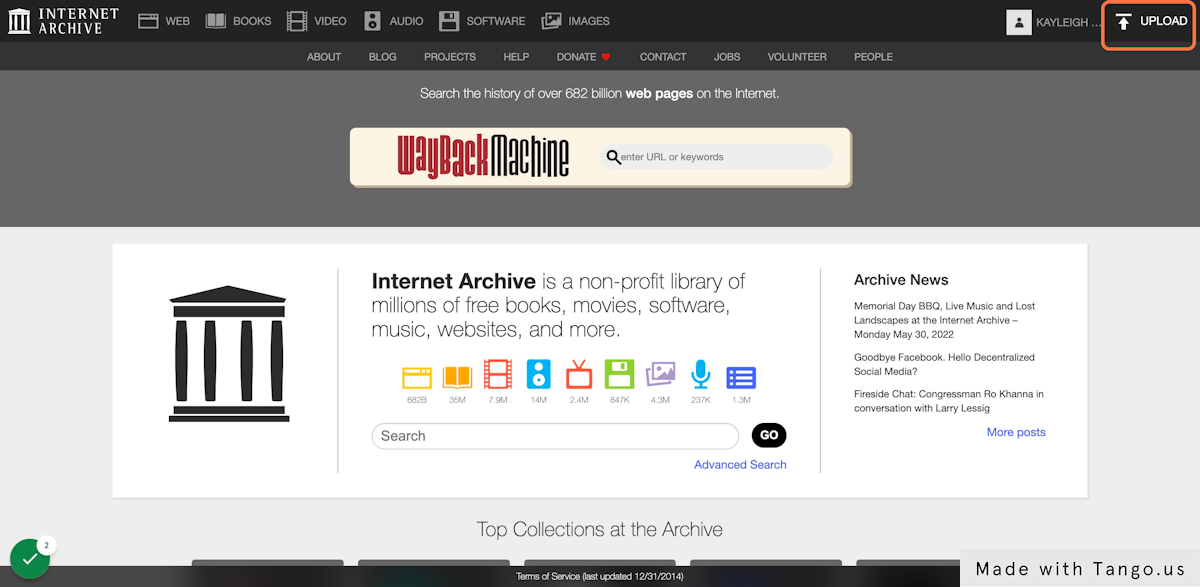
With The Internet Archive
- Navigate to the Internet Archive
- Select the upload button at the top right corner of the screen
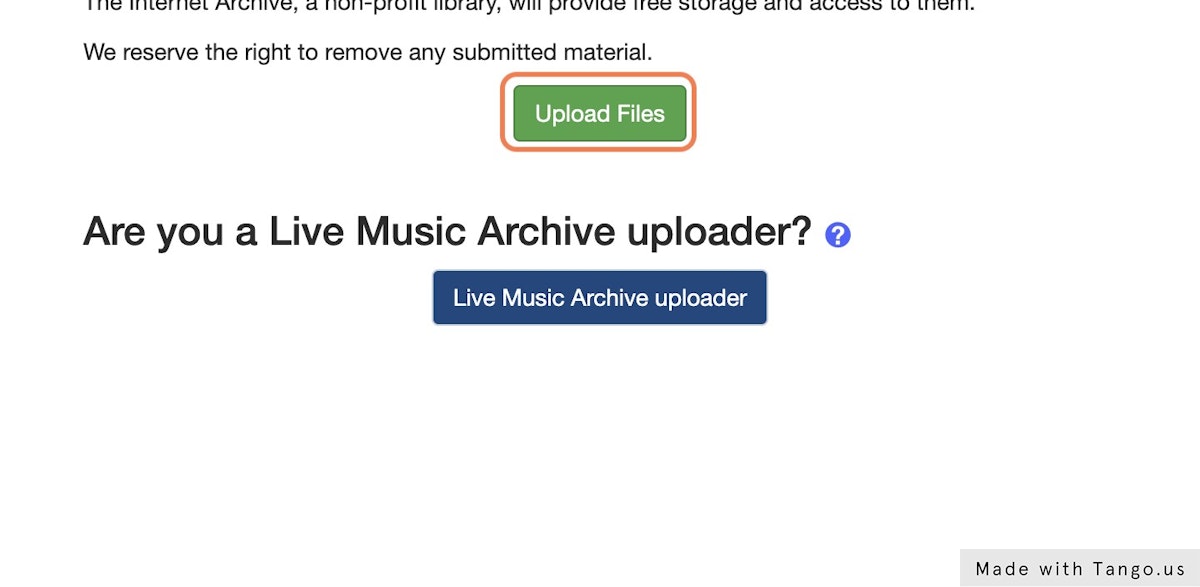
- Select the “Upload Files” button
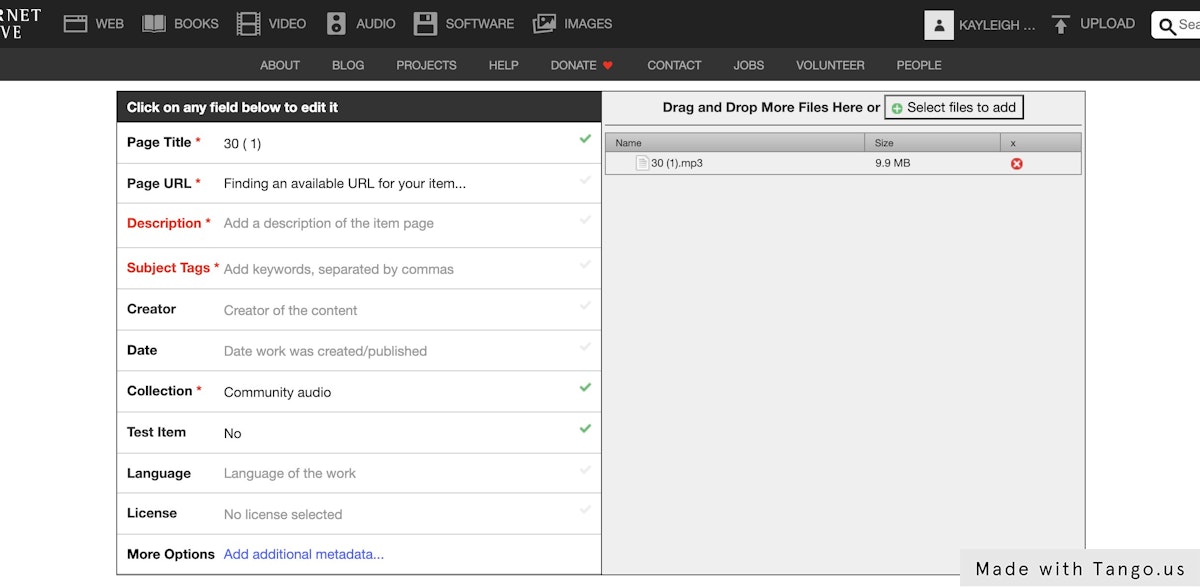
- Select and open your desired file
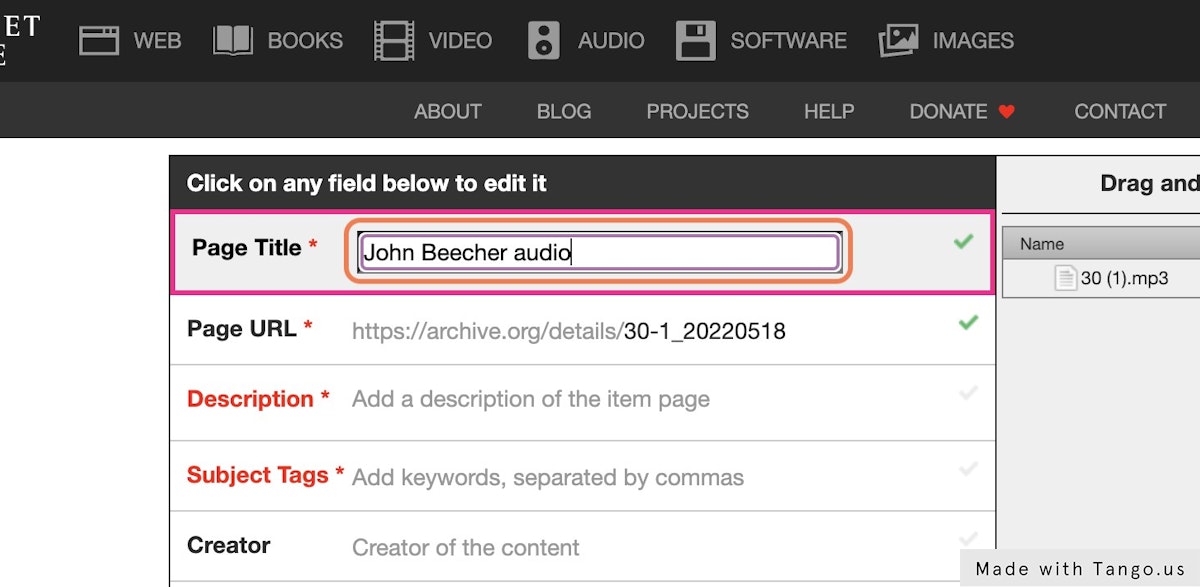
- Fill in the required fields of the metadata box
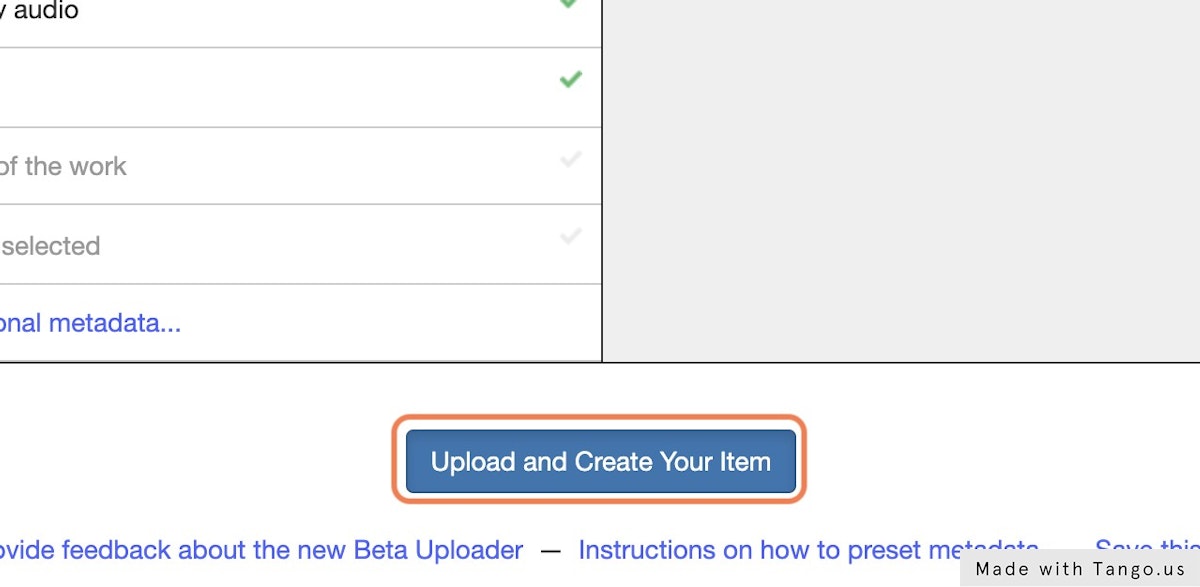
- Select the “Upload and Create Your Item” button
You will need to sign up or log in to your account in order to upload material.
This workflow was created with Tango
With Box
- Upload your audiovisual item to your Box account
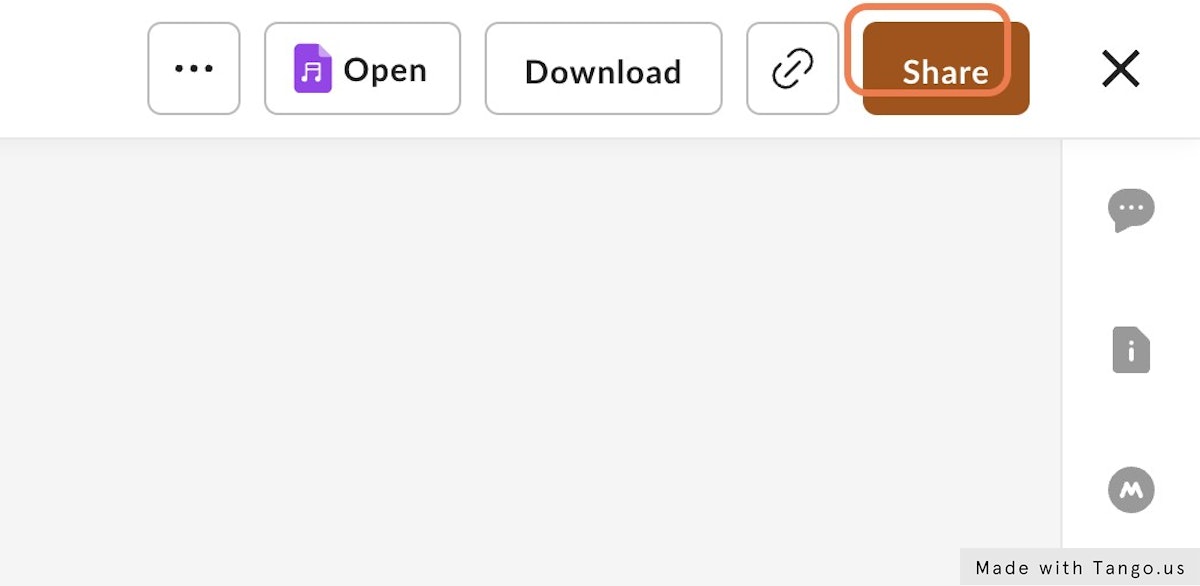
- Open your uploaded file and select "Share"
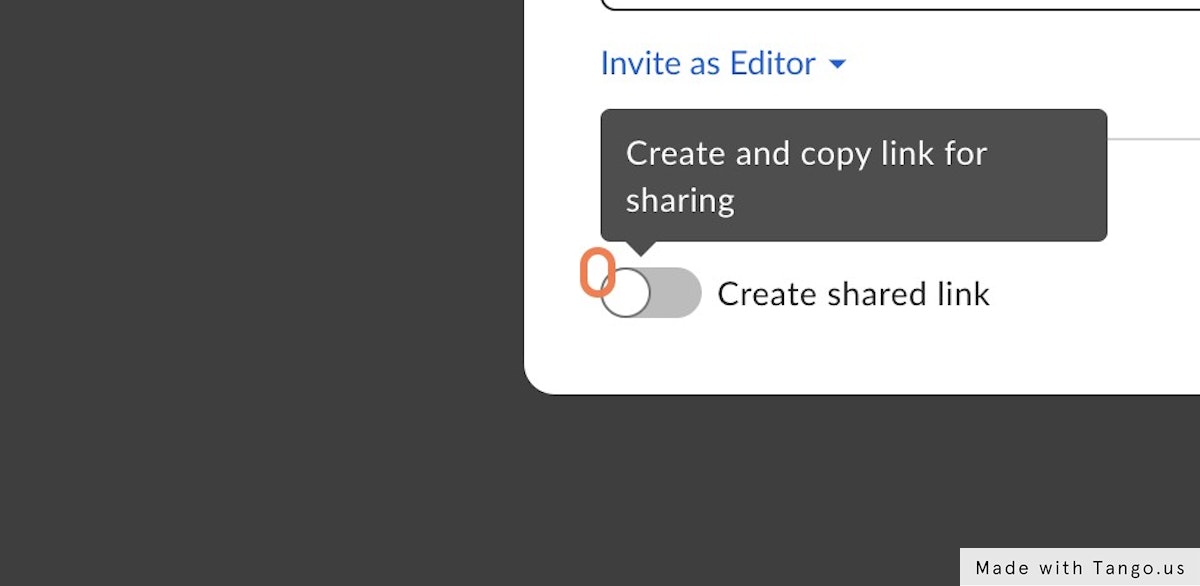
- Click the toggle to create a shared link
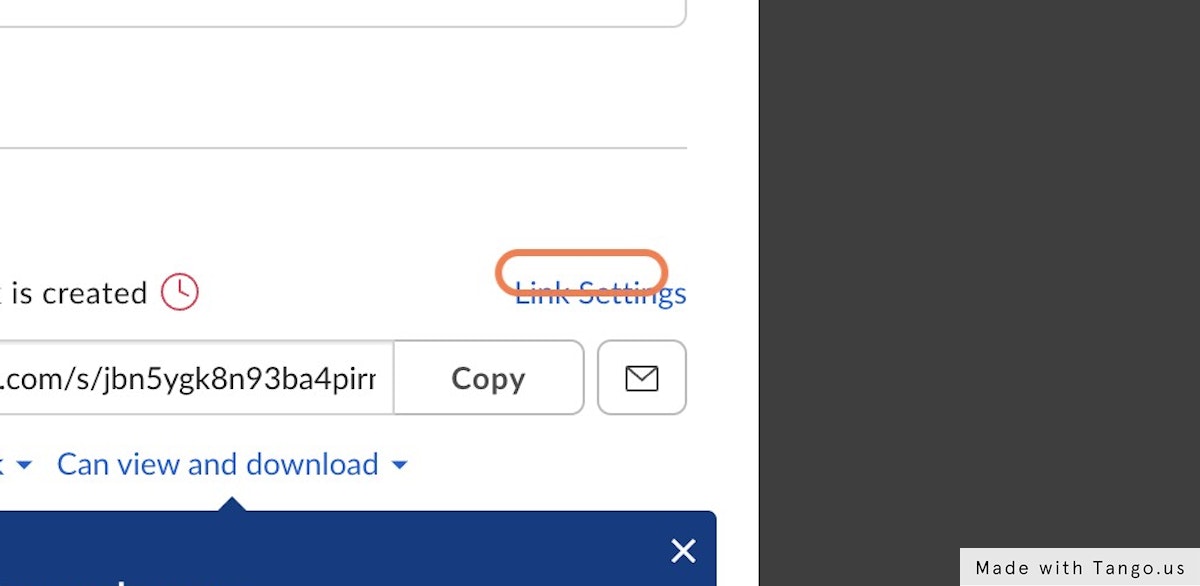
- Select "Link Settings"
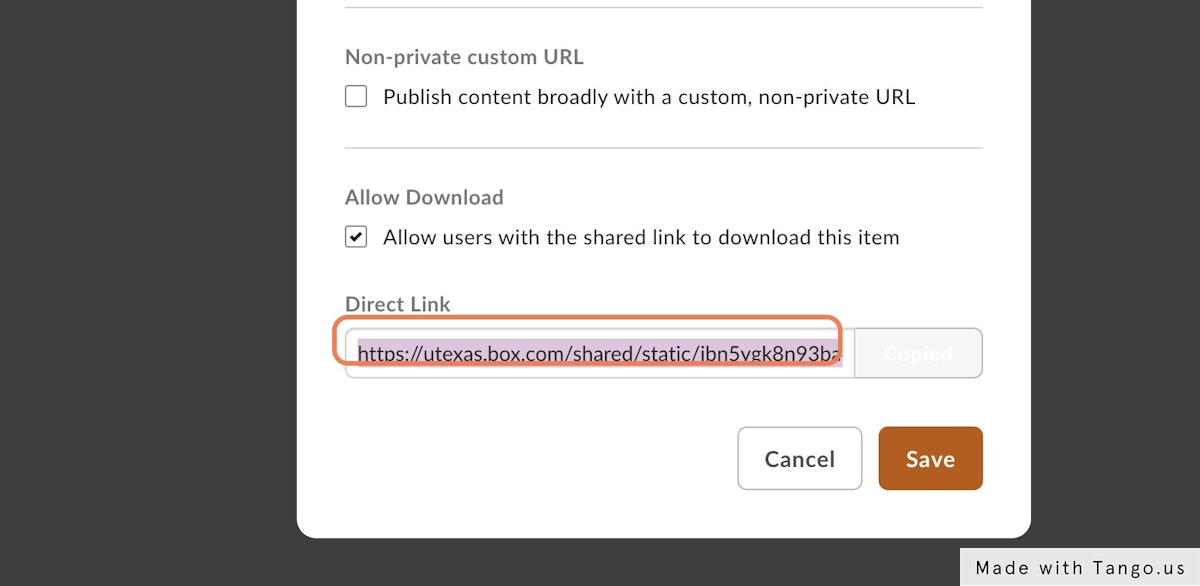
- Scroll to find the direct link at the bottom of the dialog box
Note that the shared link created here is not a direct link—you need to go one step further to find the direct link.
This workflow was created with Tango